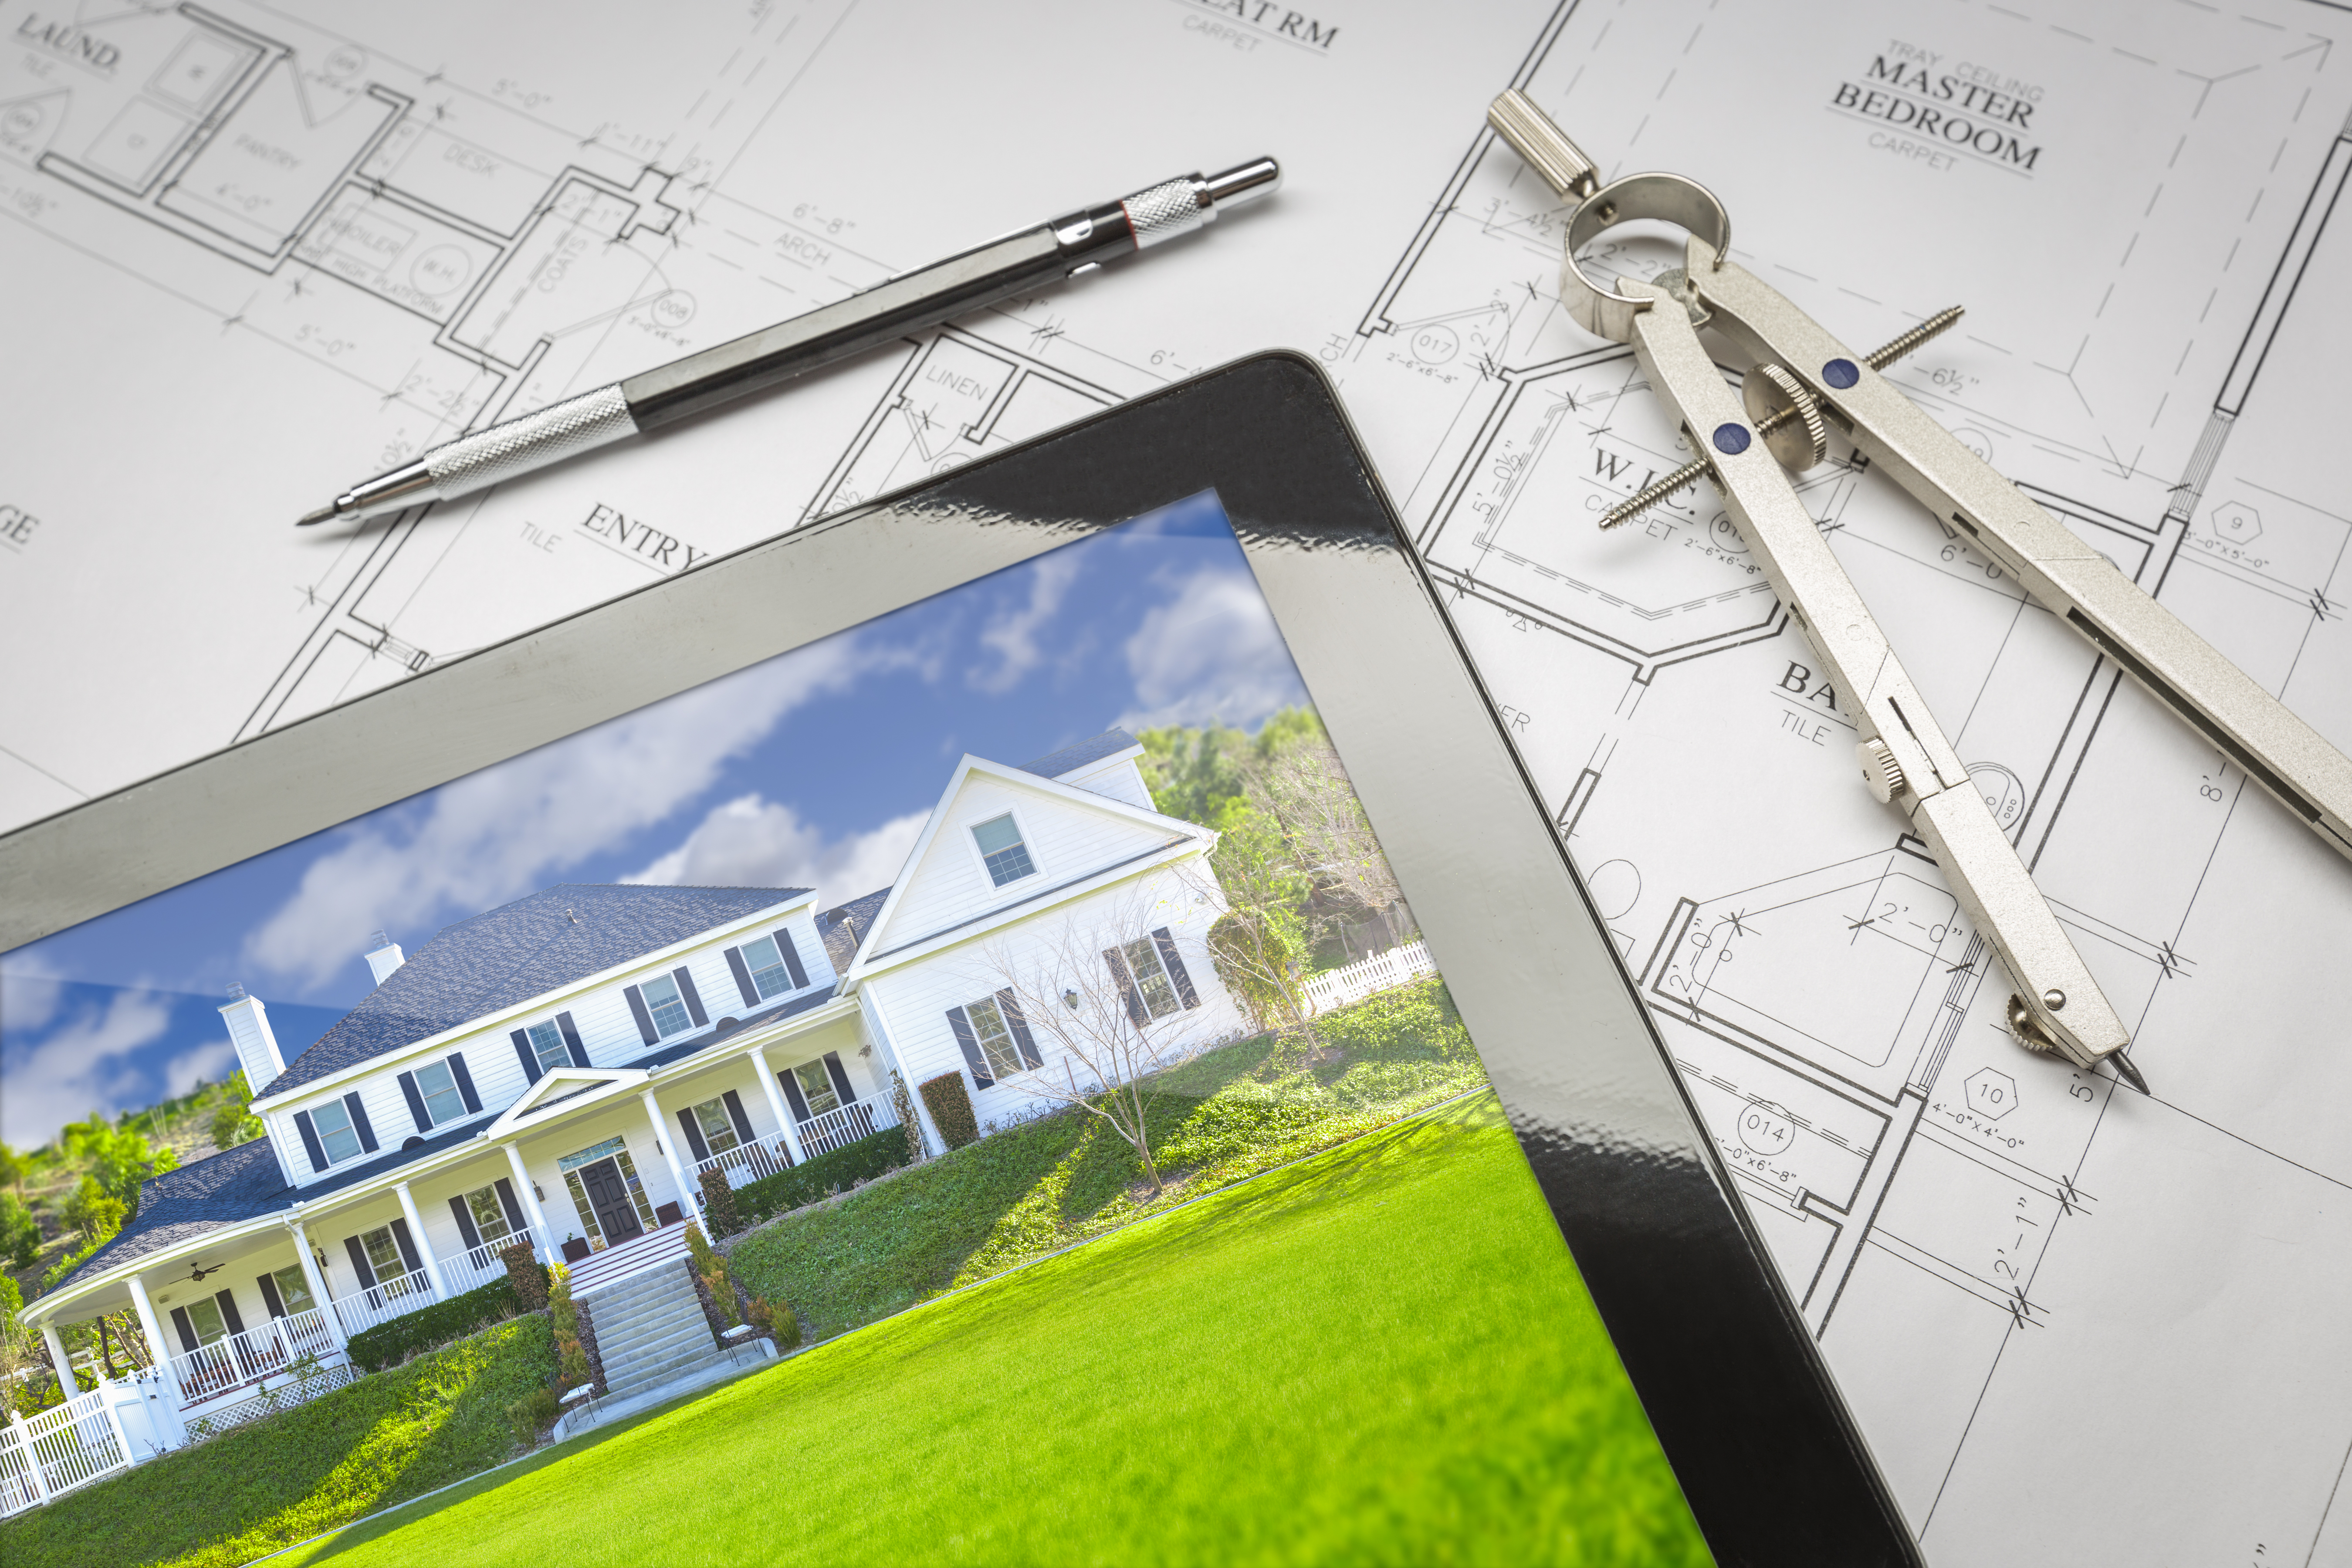
5 Popular Farmhouse Features

Hey there! Farmhouse style has become a big hit all across the United States. People are loving the warm and charming vibes it brings to their homes. If you’re thinking of giving your place that farmhouse touch, here are 5 popular features you definitely don’t want to miss:

Wide plank hardwood floors:

Imagine stepping into a room with beautiful, wide wooden boards, showcasing the natural grains and imperfections of the wood. These floors add a touch of history and warmth, evoking a sense of rustic elegance. The wide planks not only create a visually appealing focal point but also provide a connection to the rural roots that inspire farmhouse design.

Exposed ceiling beams:

These beams are a true statement piece. Originally used for structural support, they now serve as a decorative element that captures the imagination. Whether they are rough reclaimed timber or smoothly finished, exposed ceiling beams add a sense of architectural authenticity to your space. Their presence brings a cozy, cottage-like ambiance and creates a conversation piece that showcases the craftsmanship of bygone eras.

Farmhouse sink:

The farmhouse sink, also known as an apron-front sink, is instantly recognizable and highly sought after. With its large, deep basin and exposed front, it not only offers practicality but also brings a touch of nostalgia and vintage charm to your kitchen. Traditional farmhouse sinks were made of fire clay or porcelain, but modern versions now often feature stainless steel. Regardless of the material, this sink serves as a standout centerpiece, symbolizing a connection to simpler times.

Shiplap walls:

Shiplap has taken the design world by storm, and for good reason. These horizontally installed wooden planks add texture, depth, and visual interest to any room. Whether you choose to paint them in crisp white, a soothing pastel, or leave them in their natural state for that rustic appeal, shiplap walls create a timeless backdrop that enhances the overall farmhouse aesthetic. From living rooms to bedrooms and even bathrooms, shiplap walls exude charm and provide a perfect foundation for embracing farmhouse style.

Wrap-around porches:

When it comes to farmhouse living, nothing quite captures the essence like a wrap-around porch. These spacious outdoor areas encircle the front or sides of a house, offering a place to unwind, relax, and soak in the scenery. With ample room for rocking chairs, porch swings, and potted plants, wrap-around porches create an inviting space where families gather, friends converse, and memories are made. They provide a seamless transition between the indoor and outdoor realms, allowing you to experience the charm of rural living while enjoying the comforts of home.

In a nutshell, these features embody the farmhouse aesthetic and give your home that comforting and authentic feel. So, why not bring a slice of rural living to your doorstep with these popular farmhouse additions?

5 popular features for new homes in 2023

Here are the 5 most desired features in a new home in 2023:

  • Smart home technology: Homeowners are increasingly looking for homes that come equipped with smart home technology. This can include features like smart thermostats, lights, locks, and security systems. Smart home technology can make life more convenient and efficient, and it can also help to save money on energy costs.
  • Sustainable features: Homeowners are also becoming more interested in sustainable features in their homes. This can include features like solar panels, rainwater harvesting systems, and energy-efficient appliances. Sustainable features can help to reduce a home’s environmental impact and save money on energy costs in the long run.
  • Outdoor space: Homeowners are spending more time at home, and they are looking for homes with plenty of outdoor space. This can include features like patios, decks, gardens, and swimming pools. Outdoor space can provide a place to relax, entertain, and enjoy the outdoors.
  • Flexible floor plans: Homeowners are looking for homes that can adapt to their changing needs. This can include features like open floor plans, multi-purpose rooms, and adaptable furniture. Flexible floor plans can make it easy to accommodate guests, work from home, or simply relax and unwind.
  • Security features: Homeowners are increasingly concerned about security, and they are looking for homes with security features. This can include features like security cameras, alarm systems, and deadbolt locks. Security features can help to deter crime and protect homeowners and their families.

These are just a few of the most desired features in a new home in 2023. Homeowners are looking for homes that are comfortable, convenient, and secure. They are also looking for homes that are environmentally friendly and sustainable.


Are you thinking about building a new home? Contact us here to set up a free 30 minute consultation! Let us help you traverse the next steps needed.

Custom Home Design – Part 5

We have now moved into the final stage, Construction Documents.

Construction Documents are just that, documents used for the purpose of securing a building permit and to use to build the structure. (If a contractor tells you he doesn’t follow the plans, walk away, you will not get what you want, you will get whatever he builds.)

Construction documents are comprehensive and issued to be built from

These documents are the fruit of your labor, so to say. They visually and textually communicate your ideas and desires to the permit review office so they can determine if it fits within the codes they have set forth for their area and also communicates how you want this structure to be built and what materials you want to use and where you want them.

It dictates the placement of the house on your lot and of the rooms within the house. It dictates the room sizes and the door and window sizes and placement. It dictates the exterior materials and can dictate the actual colors you want inside and out.

These are very important documents and you worked hard to get to this stage. With these in hand, you have the ability to finally see your build come to life. Now you can sit back and relax. Well, maybe not.

Your building permit will be issued based upon these documents

First, as stated above, these plans will be used to acquire your building permit. Several copies will be needed. Hopefully, by this stage, you have chosen a contractor to build your home and have made your selections of materials and finishes.

Your contractor will then send these drawings into the permit office for approval. Yes, they may make comments and require some corrections. They may have a requirement that exceeds the standard codes, which they are allowed to do. At this point, comments are sent back to the contractor, who should send to the designer to get revised drawings with the comments addressed. This is actually very typical as designers do not know every detail of every localities codes. The corrections should be made expediently and returned to the permit office for review. Once this is done, you should get an approval and you can move to the next step of construction.

Your construction can now begin

It should be noted that every locality has their own timeline on getting permits approved and their own set of guidelines to go by. They are based on the International Residential Code book, but it is within their right to add to this set of codes. As of this post, the IRC2022 is being planned out and most localities are still using the IRC2012 to the IRC2015 codes, so your designer may know the main code book, (Which is about 2″ thick) but may not realize that your area has added something more stringent to a specific code.

Got the permit, now what?

At this stage, your house has probably already been staked out, silt fence up and equipment brought in to begin digging for the foundation. At the very least, your contractor will have a start date for all of this scheduled out. You will begin to see your site developed and your foundation placed. During the construction, there will be many inspections, depending on the permit office and your area. Your contractor can let you know what their schedule is and it is your responsibility to stay on top of the schedule and the budget.

Things like weather and material delays can change the schedule, often dramatically. So, when you go over the schedule with your contractor, you may want to find out what his/her contingencies are for things like “acts of God”, or just severe weather that stops the project for days. What they do if materials are delayed, what they have in place to secure your lot and materials.

Now, you are under construction and your dream home is being built. Congratulations and enjoy it for years to come.


If you haven’t purchased the books yet, here is your chance to get them.

To schedule a 45 minute Zoom consult

Custom Home Design -Part 4

We left off with preliminary drawings, so let’s take a look at what you should do when you receive the drawings.

PDF files are currently the best way to share drawings electronically

Your designer will send you some plans and at least one elevation so you can see their interpretation of what you have communicated to them. These are usually not very detailed as a lot of structure and selections have not been addressed yet. At this point, the basic layout is figured, with exterior doors and windows placed.

Some details, such as bathrooms and closets will show up and a few design features may be evident. Otherwise, there won’t be a lot of extra details to look at.

As the homeowner, you now have a job to do to move the project forward.

1. Make sure the layout is What you want. Some changes may have been made to meet code, or make the flow work. Keep an open mind and write notes so you can discuss it later. Look at how you live and see if this layout truly reflects that.

Preliminary plans are just a preliminary idea and not for construction

2. Make sure the front elevation looks the way you want it to. You may have to imagine how the sides and rear will look at this stage, because they will be dependent upon the layout and front elevation. Are the main design elements in it that you wanted or did you have to sacrifice a lot to get the look that fits the layout?

3. Make sure to note any changes you want to make. Maybe you now see where you want a patio instead of a deck or you want to add some space to a few areas. This is your chance to discuss all of the possibilities. If you have the ability to mark the PDF, or printed sheet up with a red marker, this helps with visual communication.

Remember that sometimes things you thought you wanted may not work with your layout. If things are missing or different than you asked, make notes and discuss it with your designer. They may have missed it or just hadn’t added it yet, or there may be other reasons they can share with you at your next meeting.

There is a difference between “budget” prices and actual costs

This stage is the infancy of the preliminary stage and you may need to go through it more than once to finally get a layout or look you are good with. I have had clients who have gone through this three or four times because their layout didn’t match what they envisioned, but they didn’t know any other way to communicate their desires other than to address and ask questions during this stage. They were finally able to agree on a good layout/elevation and we moved into the final part of the preliminary stage.

Prior to this, you may have been working on a preliminary budget. This is where prices will now change. This is where the plans get sent out to be estimated off of and you begin to see actual costs of building your dream home.

The final part of the preliminary stage is when you are good with the layout and the elevation, you have begun to make some selections, but now, you have a preliminary plan that you can send out to contractors and vendors to get pricing.

Unfortunately, this is also the time you may find that there are areas you may have to scale back. Things like the flooring and the kitchen may have originally been a “budget” price, meaning this is the allowance we are going to put towards that cost. Allowances, or “budget” prices, are an amount placed in until an actual cost can be ascertained. Generally an amount based on previous project prices.

For example, you may see an allowance of $25,000 for your kitchen. This may have been a general amount figured based on a mid-range cabinet and Formica countertop. Maybe based on a standard used by a contractor, etc. However, when you go to have your kitchen designed, they showed you a lot of options. The options you chose and the type of countertop you want will come in at $35,000.

Once you have finished your selections, your actual budget to build is determined and any last minute changes based on the selections are made, you can move into the final stage, construction documents.


If you haven’t purchased the books yet, here is your chance to get them.

To schedule a 45 minute Zoom consult

Custom Home Design – Part 3

So, now that we have covered some basics about where to start and what to expect from the beginning, let’s take a look at what the design process will look like, or could look like, with some modifications as needed.

The initial meeting

The initial meeting has traditionally been either at the designer’s office, or place of general meetings or at your current location of residence. As I said, this is generally the tradition, but as times have changed, so have meeting venues.

Online meetings can bring people closer than ever before, allowing more freedom in choosing the right designer for your project.

A Zoom meeting, or GoTo Meeting, or Face time, or even Skype can offer the virtual meeting space across long distances, making your choice of designer much broader and the designers clientele, much broader. This allows for meetings over long distances at a reduced cost, and offers each party more flexibility.

This meeting will be the meeting you bring information to. Your plot plan, deed restrictions, survey, etc. Anything regarding the land you want to build on. Refer to part 1 for information regarding what you should do and what you will need.

The designer should be very attentive to what you are sharing with him/her. You should bring any pictures, articles, product specifications that define the style and feel of your new home. More information is better than nothing at all. This doesn’t mean your designer will put it all into your home, but it does give them reference material on how you want your home built. They will take notes and refer to this information throughout the design process.

The initial meeting is also where any contracts are discussed and often signed. This contract/agreement will cover the scope of work expected from the designer and the responsibilities and pay schedule expected from the client. A down payment is usually made to start the project and a timetable for at least the preliminary plans will be agreed upon.

Should you decide that this is not the designer for you to use, or they decide that they are not the designer for you, there may be a fee for the time spent in the initial meeting. This should have been discussed prior to the meeting and should not be a surprise.

Starting the Preliminary drawings

This is a process. It may require a site visit before anything is started. This may be done right away, or, if it is a busy firm, it may be scheduled out. Either way, this is optional, depending on the circumstances and the designer or firm. A site visit is good, however, not always feasible or possible.

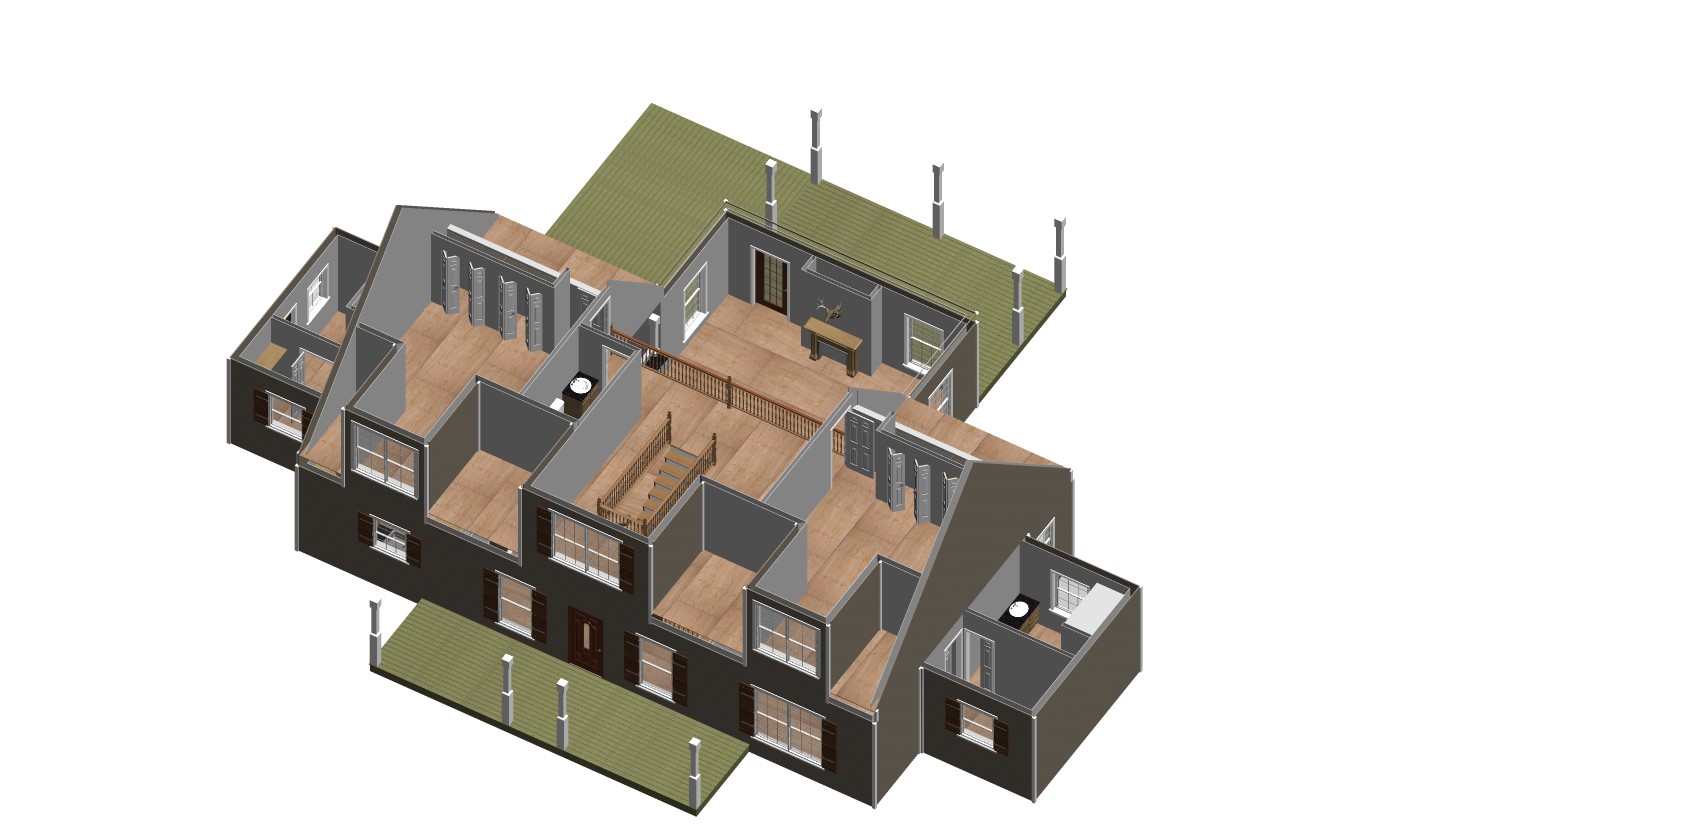
Preliminary drawings are to show you what the designers interpretation of all of the information is. They can include a myriad of drawings types, including things like 3D floor plans to help you visualize the layout better.

If the site is multiple hours away, there may be a separate fee for travel. This may make the site visit not feasible. In such a case, Google Earth can be a great resource. Any pictures you provide can also help. With today’s smartphone technology, you can do a video of your property and surrounding community, either live or shoot it and send it to the designer. (Live would be best, in case they have questions.) The purpose is to get a general sense of what can be built in the area and on the land. The foundation may change dramatically if the area you want to build on is a steep hill as opposed to flat ground, or if it is a wet area as opposed to a higher, dryer climate.

Some things that are taken into consideration are overall lay or slope, as discussed prior, Where the best views are, where the worst views are, how the sun travels across the property, what type of trees/foliage are there, what scenery is naturally available, how the wind and sun effect the land and so much more. These are details that will often decide things like the location and orientation of the house, any outdoor living spaces, outbuildings and even driveways.

This is where the survey or plot plan is required. The setbacks, sewer/water hookups and other site issues are discussed and considered.

Preliminary drawings

So, the designer has a lot of information to sort through. Ideas, pictures, site evaluations, etc. They will take that back and begin to interpret everything into a drawing. They will start with some concept sketches and move onto something they are ready to show you.

Often times the front elevation is included so that you can get a feel for the way the house will look, but sometimes a 3D rendering can be added to showcase any features that just do not show as well on a flat, 2D drawing.

Preliminary plans will generally be a layout of your floor plans and an idea of the front elevation. These should be detailed enough to allow you to see the basic sizes of each room and understand the flow. The elevation should give you a good idea of what the street face will look like.

At this point, these are a rough draft interpretation. They are for you to look at and decide if there are any changes that need to be made to the layout and flow. This also allows you to start choosing materials. Things like exterior finishes, flooring, colors, cabinets and countertops.

We will stop here for now and resume on our next blog post.

If you have started here, make sure to start at the beginning with Custom Home Design – Part 1

To see the post prior to this, check out Custom Home Design – Part 2


If you haven’t purchased the books yet, here is your chance to get them.

To schedule a 45 minute Zoom consult