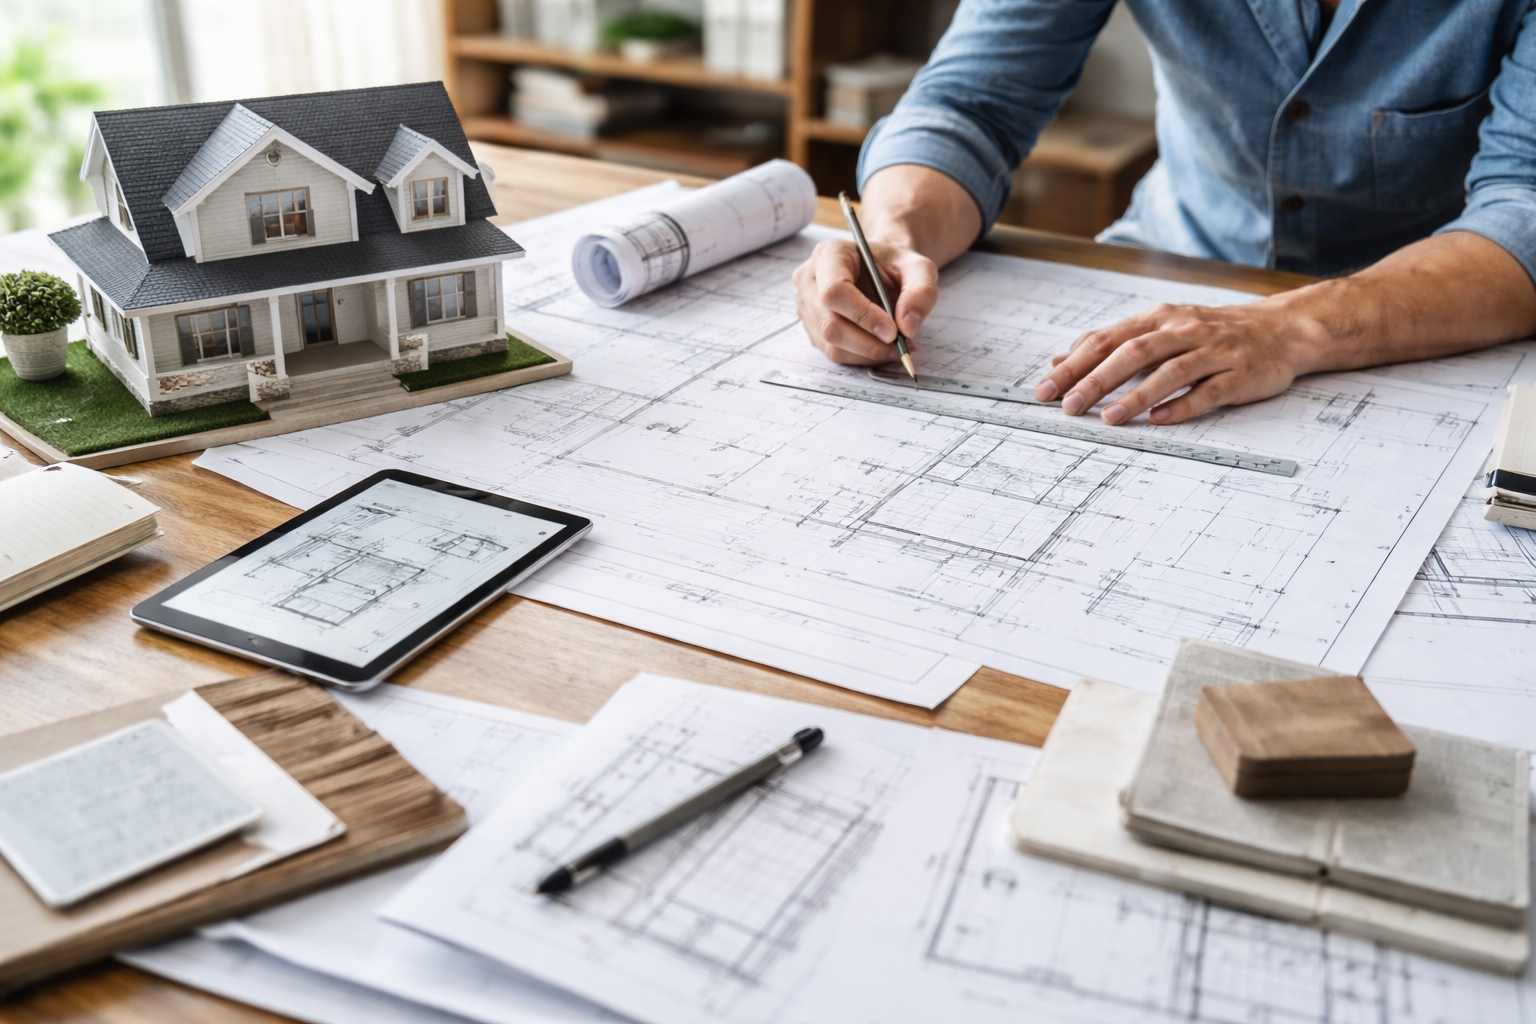
Designing a home doesn’t start with blueprints.
It starts with conversations, questions, rough ideas, and, more often than not, a little uncertainty.
Most homeowners come into the design process knowing what they want to feel, but not always knowing how to translate that into rooms, walls, rooflines, and construction-ready drawings. That’s normal. In fact, it’s expected.
This article walks you step by step through how a home design actually comes to life, from the very first conversation to a complete set of drawings a builder can use to price, permit, and build your home. Along the way, you’ll learn what happens at each phase, what decisions matter most, where people commonly get stuck, and how a thoughtful design process protects both your budget and your sanity.
Think of this as your roadmap, so you know where you’re going before construction ever begins.
Step 1: The First Conversation — Defining the Why Before the What
Every successful home design starts with a discussion, not a sketch.
This initial phase is about understanding:
- How you live today
- How you want to live in the future
- What problems your current home doesn’t solve
- What constraints exist (budget, site, zoning, timeline)
This is where big-picture questions get answered:
- Is this a forever home or a long-term stepping stone?
- Are you building for a growing family, empty-nester living, or multi-generational use?
- Do you value open spaces, quiet separation, or a mix of both?
- How important are energy efficiency, durability, and low maintenance?
Helpful Hint
Homeowners often rush this stage because it “doesn’t feel like design yet.” But decisions made here quietly shape every drawing that follows. A clear vision early prevents expensive revisions later.
Step 2: Site Analysis — Letting the Land Speak First
Before a floor plan is ever finalized, the site needs to be understood.
Every piece of land has rules, some written, some physical:
- Zoning and setback requirements
- Easements and access points
- Topography (slopes, high points, drainage paths)
- Sun orientation and prevailing winds
- Soil conditions and utility availability
A good design responds to the site instead of fighting it. For example:
- Orienting living spaces to capture natural light
- Positioning the home to minimize grading costs
- Placing windows for views and privacy
- Designing rooflines that shed water naturally on sloped lots
Helpful Hint
Designing a house without understanding the site often leads to redesigns later, or worse, compromises during construction that reduce comfort or increase costs.
Step 3: Concept Design — Turning Ideas Into Rough Shapes
This is where ideas finally start to look like a house.
Concept design focuses on:
- Overall layout and flow
- Basic room relationships
- Massing (the general shape and size of the home)
- Preliminary square footage ranges
At this stage, drawings are intentionally loose. They might include:
- Bubble diagrams
- Simple floor plans
- Early exterior studies
Nothing is “locked in” yet, and that’s a good thing.
What This Phase Is Not
- It is not about exact cabinet sizes
- It is not about outlet locations
- It is not about construction details
Helpful Hint
Concept design is where changes are cheapest. The more time spent refining ideas here, the smoother the rest of the process becomes.
Step 4: Design Development — Where the House Gets Serious
Once the concept feels right, the design moves into refinement.
This is where:
- Room sizes are adjusted
- Circulation paths are tested
- Stair locations are finalized
- Window placement becomes intentional
- Exterior style is clearly defined
You’ll begin to see:
- Scaled floor plans
- Preliminary elevations
- Roof forms that actually work
- Early discussions about materials and systems
This phase often includes meaningful trade-offs:
- Bigger kitchen vs. larger mudroom
- First-floor primary suite vs. expanded living space
- Vaulted ceilings vs. energy efficiency
Helpful Hint
This phase often feels slower to homeowners because the big “wow” moments already happened. But this is where the design becomes buildable, comfortable, and cost-aware.
Step 5: Coordination — Designing for Reality, Not Just Appearance
A home isn’t just walls and windows, it’s systems.
During this phase, the design begins coordinating:
- Structural framing
- HVAC layouts
- Plumbing routes
- Electrical planning
- Code requirements
These systems influence:
- Ceiling heights
- Beam locations
- Mechanical room sizes
- Wall thicknesses
- Chase spaces
Ignoring coordination early often leads to:
- Dropped ceilings where you didn’t expect them
- Awkward soffits
- Late-stage compromises
Helpful Hint
Good design quietly hides complexity. If the house feels simple, it’s because the complexity was solved on paper first.
Step 6: Construction Documents — Turning Design Into Instructions
This is where the drawings become a true set of instructions.
Construction documents typically include:
- Fully dimensioned floor plans
- Exterior elevations
- Building sections
- Structural layouts
- Window and door schedules
- Notes and details builders rely on for pricing and permits
These drawings answer questions like:
- How tall is this wall?
- How does the roof connect here?
- Where does this beam land?
- What materials are required?
Why This Phase Matters So Much
Builders don’t price ideas, they price information.
Clear drawings lead to:
- More accurate bids
- Fewer assumptions
- Fewer change orders
- Less stress during construction
Step 7: Permitting, Pricing, and Preparation
Once the drawings are complete, they’re used to:
- Apply for permits
- Obtain builder pricing
- Finalize construction schedules
At this point, design decisions should be largely complete. Changes can still happen, but they now affect cost, schedule, and coordination.
Helpful Hint
If you’re still “figuring things out” after drawings are submitted, it’s often a sign earlier phases were rushed.
Why the Design Process Protects You
A well-structured design process does more than create a beautiful home, it protects you from:
- Budget surprises
- Design regret
- Construction delays
- Miscommunication with builders
It gives you clarity before commitment.
Looking Ahead: What Comes Next
This article sets the stage, but each phase deserves deeper explanation. Over the next few weeks, we’ll explore:
- How long the design process really takes, and why rushing backfires
- What decisions should be made early vs. later
- Why “just making changes during construction” is almost always more expensive
Each of those topics builds on what you’ve learned here.
Final Thought
Designing a home isn’t about drawing lines, it’s about solving problems before they become expensive ones.
When done thoughtfully, the design process turns uncertainty into confidence, ideas into clarity, and drawings into a home that truly fits the way you live.
And that’s where good design really begins.
Thinking about building, adding on, or redesigning your home?
If you’re early in the planning process—or even just trying to figure out where to start—I offer a free 30-minute phone consultation to talk through your ideas, answer questions, and help you understand next steps.
Leave a Reply